
Table of Contents
ToggleIntroduction: Paint Kitchen Cabinets
Are your kitchen cabinets looking a bit tired and outdated? The good news is that a fresh coat of paint can do wonders for transforming your kitchen’s appearance. Painting kitchen cabinets is a cost-effective and creative way to breathe new life into your cooking space. In this step-by-step guide, we’ll walk you through the process of painting kitchen cabinets like a professional, ensuring a stunning result with Mettas Lifestyle.
Step 1: Gather Your Supplies
Before you begin, it’s essential to gather all the necessary supplies. Here’s what you’ll need:
- Screwdriver
- Sandpaper (medium and fine grit)
- TSP (Trisodium Phosphate) or a degreaser
- Drop cloths or plastic sheets
- Painter’s tape
- High-quality paintbrushes
- Foam rollers
- Paint trays
- Primer
- Paint
- Polyurethane or clear topcoat
- Safety goggles
- Respirator mask
- Gloves
Step 2: Remove Cabinet Hardware

Start by removing all the cabinet hardware, including knobs, handles, and hinges. Use a screwdriver to ensure you can paint every nook and cranny of your cabinets.
Step 3: Clean and Degrease
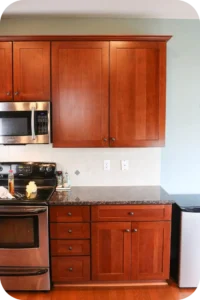
Kitchen cabinets tend to accumulate grease and grime over time. To ensure proper adhesion of the paint, clean the cabinet surfaces thoroughly. Mix TSP or a degreaser with water according to the manufacturer’s instructions. Scrub the cabinets, paying close attention to areas near the stove and sink. Rinse with clean water and let the cabinets dry completely.
Step 4: Protect Your Kitchen
Cover your countertops, appliances, and flooring with drop cloths or plastic sheets. Use painter’s tape to protect areas that shouldn’t be painted, such as the walls.
Step 5: Sand the Cabinets
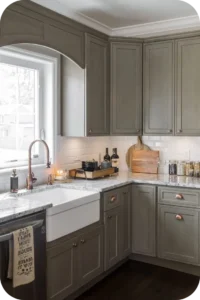
Using medium-grit sandpaper, sand the cabinet surfaces to remove the existing finish and create a rough texture for better paint adhesion. Sand in the direction of the wood grain. Once you’ve finished with the medium-grit sandpaper, switch to fine-grit sandpaper for a smoother surface.
Step 6: Apply Primer
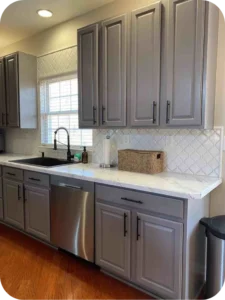
Priming is a crucial step in achieving a professional finish. Apply a high-quality primer to all cabinet surfaces. Use a brush to get into corners and edges and a foam roller for larger areas. Primer not only provides better adhesion for the paint but also covers any stains or imperfections in the wood.
Step 7: Sand Again
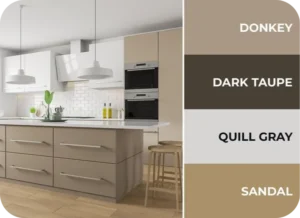
After the primer has dried, lightly sand the cabinets with fine-grit sandpaper once more. This step smooths any raised grain and imperfections left by the primer.
Step 8: Paint the Cabinets
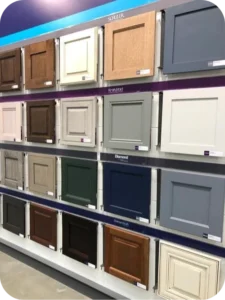
It’s time to apply the paint. Use a high-quality paintbrush for the cabinet’s details, edges, and corners. A foam roller is ideal for the larger flat areas, ensuring a smooth and even coat of paint. Start with the cabinet doors, working from the inside out, and then paint the cabinet frames. For the best results, apply two to three thin coats of paint, allowing each coat to dry thoroughly before the next.
Step 9: Let the Paint Dry
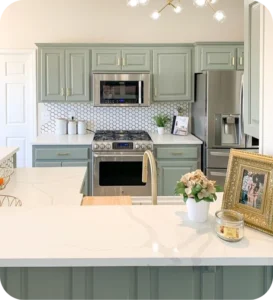
Be patient and allow the paint to dry completely. This usually takes a few hours between coats and up to 24 hours after the final coat. Ensure proper ventilation during the drying process.
Step 10: Apply a Topcoat
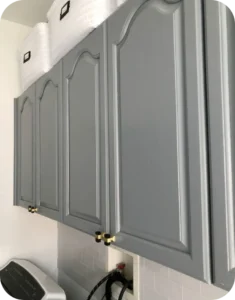
To protect your newly painted cabinets, apply a clear topcoat or polyurethane finish. This step provides durability and makes the cabinets easier to clean. Use a high-quality brush to apply the topcoat evenly, following the manufacturer’s recommendations for drying times and the number of coats.
Step 11: Reattach Cabinet Hardware
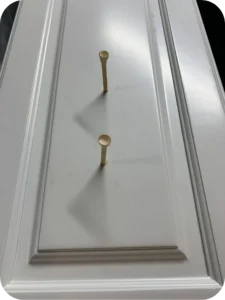
Once the topcoat is completely dry, reattach the cabinet hardware. Make sure everything is tightened securely.
Step 12: Enjoy Your Newly Painted Cabinets

With the hardware in place and your kitchen looking fresh and revitalized, it’s time to step back and admire your work. Your kitchen cabinets have been transformed, and the entire space now exudes a renewed charm.
Additional Tips:
- Choose a paint color that complements your kitchen’s overall theme and décor.
- Take your time and pay attention to detail for a professional finish.
- Proper ventilation and safety precautions are essential, so wear goggles, a respirator mask, and gloves when working with paint and chemicals.
Painting kitchen cabinets is a rewarding DIY project that can completely change the look and feel of your kitchen. With these steps and a little patience, your cabinets will look like they were professionally painted, and you’ll have a kitchen you can be proud of.
Conclusion
In conclusion, painting kitchen cabinets is a highly effective and budget-friendly way to refresh your kitchen’s appearance. By following the step-by-step guide outlined above, you can achieve professional-looking results that will breathe new life into your cooking space. Remember to take your time, pay attention to detail, and prioritize safety to ensure a successful cabinet painting project.
Your kitchen is a central hub in your home, and with freshly painted cabinets, it can become a more inviting and aesthetically pleasing environment. Whether you’re looking to update your kitchen’s style or revamp its worn-out appearance, painting the cabinets is an excellent DIY project that can bring about a remarkable transformation.
Related topics you must read: Materials for Kitchen Cabinets: Discover the Best Choices
FAQs
The time required to paint kitchen cabinets can vary depending on factors such as the size of your kitchen, the number of cabinets, and the drying time between coats. Typically, it may take several days to a week to complete the project. Be sure to allow sufficient drying time for each coat of paint and topcoat.
While it’s not necessary to remove the cabinet doors, it’s often more convenient and ensures a smoother painting process. Removing the doors allows for easier access to all surfaces and avoids potential drips or brush marks.
For kitchen cabinets, it’s recommended to use a high-quality, durable paint that is either latex or oil-based. These paints provide a durable finish that can withstand the rigors of kitchen use. Satin or semi-gloss finishes are popular choices as they are easy to clean and maintain.
Yes, you can paint over cabinets that have already been painted. However, it’s essential to properly prepare the surface by cleaning, sanding, and applying a primer before adding new paint.
To prevent brush marks, use a high-quality paintbrush and apply the paint with long, smooth strokes, following the wood’s grain. Additionally, you can use a foam roller for larger, flat surfaces to achieve a smoother finish.
Yes, changing the cabinet hardware is a great way to further update the look of your cabinets. New knobs, handles, and hinges can provide a fresh and modern aesthetic.
When selecting a paint color, consider the overall style and color scheme of your kitchen. Neutral colors are a safe choice, but you can also choose a complementary or contrasting color that suits your taste and kitchen decor. Test a small area or a cabinet door before committing to a color to ensure it complements your space.
The choice of topcoat or polyurethane may vary depending on your paint type (latex or oil-based). Always follow the recommendations of the paint manufacturer for the best results. Water-based polyurethane is often a good choice for latex paints, while oil-based paints may require an oil-based topcoat.


1 comment. Leave new
[…] Have questions about your next renovation project? We’ve got answers. Let’s do this together. […]